Oblivion:Traps
There are various types of traps in Oblivion, the vast majority of which are found in dungeons or the Planes of Oblivion. Most traps are tripped if you activate a certain "trigger," which may be a physical object or an invisible proximity trigger. Traps are usually hidden in dark areas or are blended into their environment, making them harder to avoid. After an activated trap resets, there is usually a small time period where it is safe to pass. They are returned to their original state altogether during a cell reset. (When you have not visited a particular cell for 72 in-game hours, everything in it respawns.)
Índice
- 1 Triggers
- 2 Physical Traps
- 2.1 Abyss
- 2.2 Avalanche
- 2.3 Ayleid Ruin Spike Pit
- 2.4 Cave In
- 2.5 Ceiling Spikes
- 2.6 Citadel Guillotine Blade
- 2.7 Citadel Spikes
- 2.8 Citadel Trident Blade
- 2.9 Claw Trap
- 2.10 Crumbling Bridge
- 2.11 Darts
- 2.12 Falling Blades
- 2.13 Falling Logs
- 2.14 Gas Trap
- 2.15 Gas Room
- 2.16 Rotten Plank
- 2.17 Spike Pit
- 2.18 Spiked Barrier
- 2.19 Swinging Blades
- 2.20 Swinging Log
- 2.21 Swinging Mace
- 3 Magical Traps
- 4 Bugs
- 5 See Also
Triggers
While many traps are triggered by proximity, others have a physical trigger of some kind. With caution, traps can be circumvented by avoiding the trigger. Traps can also be used against enemies by activating these triggers at the right time.
Claw Lever
|
Found in: Oblivion Citadels |
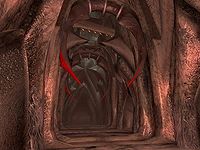
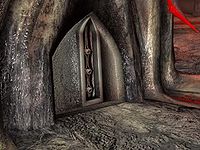
This trigger is usually tied to either a citadel guillotine blade or a citadel trident blade.
Pressure Plate
|
Found in: Ayleid ruins, caves, forts, and mines |
Like the tripwire, the pressure plate is most commonly tied to traps with falling objects, such as a swinging mace.
Tripwire
|
Found in: Ayleid ruins, caves, forts, and mines |
Tripwires are usually set in narrow passages to maximize the effectiveness of a linked trap. The wire can also be broken from a distance by firing an arrow into one of the poles. If you are close enough, you can break the tripwire by activating it. Like the pressure plate, the tripwire is most commonly tied to traps with falling objects, such as falling logs.
Physical Traps
Physical traps usually damage their victims and push them backwards. The damage cannot be reflected, absorbed, or resisted by magical means. The only way to reduce it is the Resist Normal Weapons effect. The damage dealt by physical traps is leveled, and is calculated for each actor individually by using its own level. The amount of damage dealt is not affected by the difficulty slider. As with trigger traps, physical traps can be used to a player's advantage to kill groups of enemies.
Abyss
|
Found in: Arkved's Tower, Henantier's Dreamworld, Lost Boy Cavern, and Sinkhole Great Hall |
There is no way to survive the abyss because the death is scripted. Essential NPCs are not killed if they fall into the abyss, but they will fall unconscious and recover again in perpetuity.
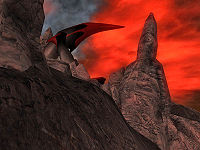
The abyss is quite rare, only appearing in a small number of locations, and is one of the few elements in the game that can instantly kill you if you come into contact with it.
Avalanche
|
Found in: Planes of Oblivion |
The avalanche is frequently set off before you have time to reach it. Even if you are caught in an avalanche, you can easily sidestep the falling boulders.
Ayleid Ruin Spike Pit
|
Found in: Ayleid ruins |
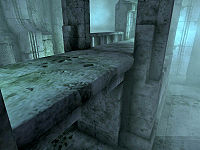
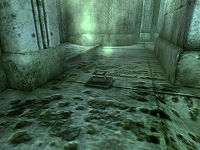
When an actor triggers the trap, it will only take damage if it actually falls into the pit. The floor will lower even if no physical contact occurs, so jumping over the trap does not help. When the trap activates, move near the edge of the platform to avoid the spikes. After this trap has reset, it will take five seconds to re-arm.
If anything dies above the trap, its corpse will keep activating the trap until the body vanishes.
Cave In
|
Found in: Ceyatatar, Crumbling Mine, Henantier's Dreamworld, caves, and forts |
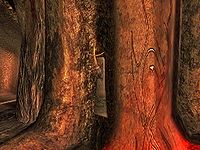
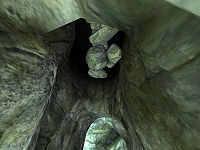
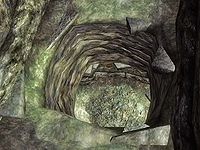
Cave ins often occur in dead-end passages. These passages can be identified by loose rocks lying on the floor at the end.
Ceiling Spikes
|
Found in: Ayleid ruins |
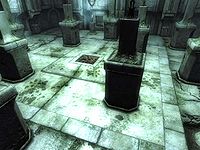
The floor will only rise when an actor physically stands on it, so it is safe to jump over the trigger zone. It is possible to stand on the corner or sides of the rising platform in order to avoid the spikes. After this trap has reset, it will take five seconds to re-arm.
Like the spike pit trap, anything that dies on this trap will cause it to continually reset and re-trigger until the body disappears.
Citadel Guillotine Blade
|
Found in: Oblivion Citadels, including The Brooding Fortress, The Claw Monolith, Portals of Natural Disasters, and World Breaker |
The citadel guillotine blade can be avoided by quickly running through the target area before the blade falls. You can also trigger the blade and step back, passing under after the blade has retracted. It is also possible to jump over the blade, though more precise timing is needed with this method. This trap can also be triggered by a claw lever. Be careful, as even walking into the side of the blade can cause damage.
Citadel Spikes
|
Found in: Oblivion Citadels |
Citadel spikes are located on the walls of Citadels and are easily spotted, making them less dangerous than some other traps. If you run directly through the target area, you will escape the damage zone before the spears can fully extend. Alternatively, it is possible to trigger the spears, step backward, and wait for them to retract back into the wall. After this trap has reset, it will take five seconds to re-arm.
Citadel Trident Blade
|
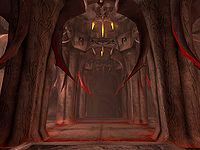
Found in: Oblivion Citadels, including The Brooding Fortress, The Chaos Stronghold, The Flesh Spire, The Lust Keep, and The Sorrow Keep |
This trap is difficult to dodge because it gives so little indication that it has been triggered. Dodge it by stepping to either side when you see the blade coming towards you. This trap can also be triggered by a claw lever.
Claw Trap
|
Found in: Planes of Oblivion |
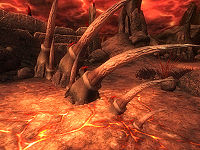
Claw traps are fairly easy to avoid. The claws will remain above ground for 19 seconds, then retract. The trap will re-arm after five seconds.
Crumbling Bridge
|
Found in: Ayleid ruins and forts |
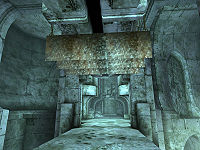
While this trap is not particularly dangerous, it can make progress bothersome. If you fall down, you will be forced to retrace your steps in order to return to the bridge. It is possible to trigger the collapse so that it occurs before you are entirely on the trapped section of bridge, thereby avoiding damage.
This trap may be combined with another trap, such as a dart trap mounted on the pillars below the bridge, which will cause you to fall down into the path of the darts.
Darts
|
Found in: Henantier's Dreamworld, forts |
This trap is fairly dangerous. It is possible to avoid the darts by stepping into trigger range, stepping back to avoid the trap, and running past once the trap has stopped firing. There is a five-second delay between firings. Although each individual dart is weak, the combined damage of a multitude of darts can be quite damaging.
It is not uncommon to find dart traps combined with other traps, such as a crumbling bridge that drops the player into the trigger range of a darts trap. Some dart traps, like those found in Fort Farragut, fire indefinitely, making it impossible to pass them unharmed.
Falling Blades
|
Found in: Henantier's Dreamworld, Ayleid ruins |
Falling blades are moderately dangerous, as they deal a fair amount of damage, but they are easily spotted. You can avoid falling blades by either triggering the blade and jumping over it while it remains on the ground or by triggering the blade and waiting for it to reset. After this trap has reset, it will take five seconds to re-arm. Be careful not to touch the blade while it is moving, as even the side of the blade will cause damage.
Falling Logs
|
Found in: caves, forts, mines |
Falling logs can be either triggered (with a tripwire or other trigger) or activated from a close range. Falling logs are dangerous, as the damage dealt by a successful hit is large. However, they are easily avoidable, and can even be used against unsuspecting enemies.
Gas Trap
|
Found in: Arkved's Tower, Fort Grief, Henantier's Dreamworld, The Caverns of The Moth, and Ayleid ruins |
The damage dealt by gas traps is minimal, but the trap is difficult to avoid. Most gas traps require a trigger to activate, but some are constantly active. Poison resistance negates the effects of this trap. Argonians are immune to poison because of their racial trait, which grants them immunity to gas traps.
Gas Room
|
Found in: Ayleid ruins, Planes of Oblivion |
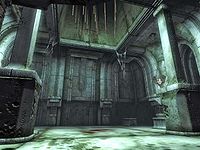
There are usually items of value placed within gas rooms to lure you into the trap. Some gas rooms require the activation of a button in order to lower the walls and escape the trap. Poison resistance negates the effects of this trap. Argonians are immune to gas rooms because of their racial trait, which grants them immunity to poison. A good way to avoid this trap is to go into a corner and crouch to avoid the gas.
Some gas room traps may not function properly; see bugs for details.
Rotten Plank
|
Found in: Flooded Mine, Fort Strand, and caves |
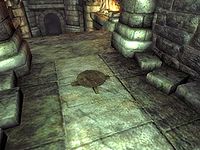
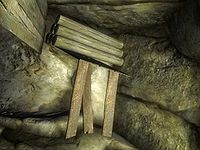
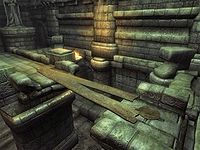
It is difficult to discern rotten planks from ordinary planks, so it may be wise to avoid walking over planks altogether, jumping across any gaps spanned by planks instead. If a gap is too large to jump, running quickly over planks may help you avoid falling if one should break beneath you.
Spike Pit
|
Found in: The Caverns of The Moth, caves, forts, mines, and Planes of Oblivion |
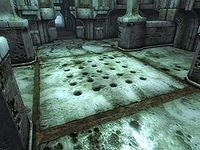
To avoid spike trips, it is best to walk carefully when passing through small corridors. If you spot a hole, simply jump over it. Be careful, though, as you may hit the ceiling of the passageway, which may greatly cut your jump short and send you headlong into the pit despite your attempt to avoid it. If you fall through an ordinary hole or a hole resting over spikes, you will likely take damage and be required to retrace your steps in order to reach the corridor again. However, if you fall through a hole situated over lava, you will most likely die, as there are usually no escape routes from the lava chambers.
Activation of these traps target you specifically; NPCs and creatures will not cause gratings over spike pits to fall when they step on them.
Spiked Barrier
|
Found in: Elenglynn, Niryastare, Nonungalo, Varondo |
Spiked barriers are triggered by proximity and will sweep quickly across their platform. Attempting to cross its threshold during a sweep is inadvisable, as spiked barriers move quickly and are difficult to dodge. Avoiding a spiked barrier requires you to trigger it first and wait for it to reset, at which point you may rush past it. In addition, there are often small balconies or stone railings along the bridge or hallway of the trap; jumping on these will usually allow you to dodge around the trap and continue in the barrier's wake. Enemies may also be lured into the path of the spiked barrier.
Swinging Blades
|
Found in: Ayleid ruins |
Triggering a swinging blade trap is unavoidable, but the blades can be dodged rather easily. Swinging blades move both dependently and independently from each other, and their timing is varied. There is a large enough space between each blade to stand without fear of being struck. After the trap has been triggered, watch the pattern of the blades and pass at intervals in which there is no blade movement. Alternatively, you may opt to dash across a swinging blade trap in one motion, but you take a much greater risk of being hit by a blade in doing so. If you are a Journeyman in Acrobatics, you can easily avoid the swinging blades by using the Dodge ability.
Swinging Log
|
Found in: Fort Pale Pass, Fort Strand, caves, and mines |
Swinging logs are usually placed to strike an area a few feet in front of their trigger. More often than not, swinging logs are triggered by tripwires or pressure plates, both of which emit loud, noticeable sounds. If you wish to avoid swinging logs, you should stand still after hearing one of these sounds. The trap will most likely strike the area directly in front of you, leaving you unharmed. If you have good aim, you can use the grab function to stop the log and gently let go of it; you can even use the log against other enemies by pulling it up and releasing the log.
Swinging Mace
|
Found in: Ayleid ruins, caves, forts, and mines |
Swinging maces are usually placed to strike an area a few feet in front of their trigger. More often than not, swinging maces are triggered by tripwires or pressure plates, both of which emit loud, noticeable sounds. If you wish to avoid swinging maces, you should stand still after hearing one of these sounds. The trap will most likely strike the area directly in front of you, leaving you unharmed. There are two varieties of swinging mace: the first is a small, ball-shaped mace and the second is a larger, cylinder-shaped mace. If you have good aim, you can use the grab function to stop the mace while it is swinging and gently let go of it; you can even use the mace against other enemies by pulling it up and releasing the mace. Metal maces can be prematurely activated by firing arrows at them, but this does not work for wooden maces.
Some swinging maces are located above thrones in abandoned forts, and will be triggered when you sit on the throne.
Magical Traps
Magical traps fire spells at their victims. Depending on the spell cast, the effect can be absorbed, reflected, or resisted through magical means. Unlike physical traps, magical traps always aim directly at you, rather than at a fixed location. Magical traps will always "see" you, regardless of any Chameleon or Invisibility effects you may have.
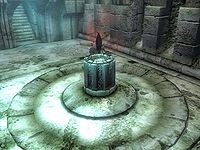
Dark Welkynd Stone
| Level | Damage |
|---|---|
| 1 - 5 | 10pts |
| 6 - 10 | 20pts |
| 11 - 15 | 35pts |
| 16 - 20 | 70pts |
| 21+ | 110pts |
|
Found in: Arkved's Tower, Shrine of The Moth, and Ayleid ruins |
When you move into range, the dark Welkynd Stone will begin to charge and glow red, warning that it is about to fire. Some stones will power down if you stop moving; some will only power down if you move back out of its range. The spell fired by the dark Welkynd Stone can be absorbed and resisted, but it cannot be reflected.
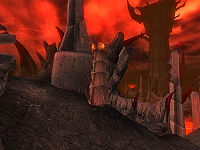
Fire Turret
| Level | Damage |
|---|---|
| 1-7 | 6pts |
| 8-15 | 20pts |
| 16-20 | 30pts in 10ft |
| 21+ | 50pts in 15ft |
|
Found in: Oblivion Citadels, Planes of Oblivion |
The fire turret's spell can be dodged easily enough, but at higher levels the fireballs will have an area of effect, making it much harder to avoid. The trajectory of the turret's fireball, like other projectiles, may be thrown off by quickly changing directions as the spell is fired. If done correctly, the fireball should miss you. The tower will not fire if you are too close to it. A fire turret will only target you specifically; it will not target NPCs or other creatures. However, it is possible for the fireball to hit someone else, including one of your enemies, if they are between you and the tower.
The fire spell from the turret can be absorbed and resisted, but it cannot be reflected.
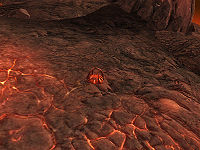
Land Mine
| Level | Damage |
|---|---|
| 1-4 | Fire Damage 2pts in 14ft for 5sec Fire Damage 26pts in 14ft |
| 5-8 | Fire Damage 4pts in 14ft for 5sec Fire Damage 32pts in 14ft |
| 9-12 | Fire Damage 6pts in 14ft for 5sec Fire Damage 38pts in 14ft |
| 13-16 | Fire Damage 8pts in 14ft for 5sec Fire Damage 44pts in 14ft |
| 17-20 | Fire Damage 10pts in 14ft for 5sec Fire Damage 50pts in 14ft |
| 21-24 | Fire Damage 12pts in 14ft for 5sec Fire Damage 60pts in 14ft |
| 25+ | No spell fired (see Bugs). |
|
Found in: Oblivion Citadels, Planes of Oblivion |
If you spot a land mine before it activates, you can disarm it remotely by firing a projectile weapon or ranged damage spell at it from a safe distance. The mine will still explode, so be prepared to avoid the fireball heading towards you. If you trigger a land mine by proximity, either hit it with a weapon, causing it to shatter harmlessly, or quickly get out of range before the land mine has a chance to detonate. It will lower and not explode, allowing you to trigger it at a range. If you cannot be targeted properly, the land mine may simply explode instead of shooting a fireball.
Land mines are highly sensitive, and can be activated by debris from nearby exploded mines. Sometimes a chain reaction is caused by the detonation of a single mine.
Unlike the other magical traps, the fire spell from the land mine cannot be absorbed or reflected, but it can be resisted.
Bugs
- After reaching level 25, the mine will detonate but it will fire no spell at all.
- PC Only This bug is fixed by the Unofficial Oblivion Patch.
- It is possible to make the land mine instantly disappear by making a proper maneuver: first, come close enough to the mine to trigger the "jump", then move away; wait for the mine to be half-way to the ground, and then once again come close to it. The mine will disappear the instant it casts the spell (unless you are level 25 or higher and do not have the UOP installed, in which case the mine will just disappear).
- The gas room trap in Narfinsel does not expel any poisonous gas.
- If you stand on the walls when the gas room trap is activated, they will smash you through the roof. You can then walk around over the roof and see through various walls and ceilings. To return to the normal interior, jump into the void and the game will automatically teleport you back. You will also go back into the normal interior if you are standing on the walls when they lower. ?
